The Best Pleco Food for 2022
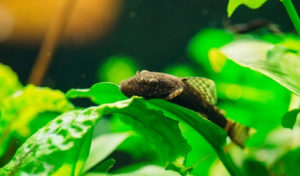
The best pleco food is different from regular fish food in the sense that it does not float. Plecos and similar fish species are bottom … Read more
shortcodes-ultimate domain was triggered too early. This is usually an indicator for some code in the plugin or theme running too early. Translations should be loaded at the init action or later. Please see Debugging in WordPress for more information. (This message was added in version 6.7.0.) in /home/aquatic/public_html/wp-includes/functions.php on line 6170wp-external-links domain was triggered too early. This is usually an indicator for some code in the plugin or theme running too early. Translations should be loaded at the init action or later. Please see Debugging in WordPress for more information. (This message was added in version 6.7.0.) in /home/aquatic/public_html/wp-includes/functions.php on line 6170
The best pleco food is different from regular fish food in the sense that it does not float. Plecos and similar fish species are bottom … Read more
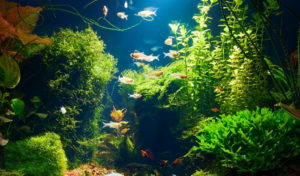
Do you want to up your aquarium game? Then you can start by removing all those tacky plastic plants and replacing them with real aquatic … Read more
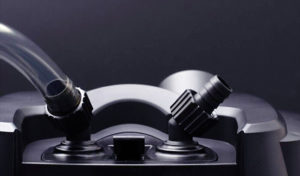
The best filter for a 55-gallon aquarium is one that can keep up with the biological load. If your tank is almost at the limit … Read more
Every aquarium keeper has to know how to dispose of a dead fish. Failing to take proper measures may bring the same fate to the … Read more

Are your kids bugging you about getting their fish tank for their room? Depending on how old your children are, you can give them a … Read more
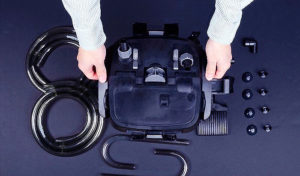
Having the best filter for a 30-gallon aquarium means that you will not be worrying about a cloudy and dirty tank ever again. Although it … Read more

An important part of the maintenance of your fish tank is familiarizing its water chemistry. If you think that you can just easily put whatever … Read more

Taking care of an aquarium is not all fun and games. It is crucial to monitor the tank’s condition constantly to ensure that your fish … Read more
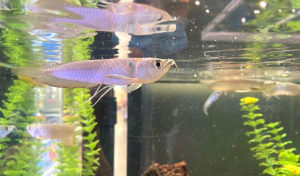
The Arowana is one of the most popular freshwater aquarium fish in the world. Many people keep this fish because they believe it brings them … Read more
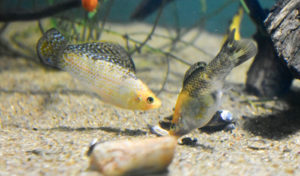
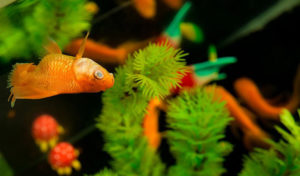
Small fishes, like mollies, tetras, danios, and guppies, may look tiny but they are quite voracious eaters. They are constantly darting back and forth in … Read more