The second most difficult part about adding a yeast-powered CO2 system to your planted aquarium, after ripping all your hair out trying to find where its leaking (see our article on building your own CO2 generator for step by step instructions on how to avoid this), is to find a recipe that fits your CO2 needs. You can find all kinds of recipes and resources online that tell you to boil containers, add baking soda, use honey, brown sugar, and all sorts of other crazy things. Take it from me: I’ve tried these and I still keep coming back to a basic recipe and procedure.
The main thing to remember is that depending on what proportion you add the ingredients, you will either get very intense CO2 production for a short period of time, or milder CO2 production for a longer period of time.
If you add more sugar and yeast, the CO2 production will be more intense, while adding less of both means it will last longer. This is because as yeast create CO2, they produce alcohol which eventually poisons the yeast and kills it.
A smaller amount of sugar and yeast means the whole process is slowed down and lasts much longer. I opt for this type of mix, only because I find it a pain to replace the mixes every week, let alone every few days! My recipe usually produces CO2 at a fairly regular rate for about 14 days. It will continue to produce CO2 for at least another week or so, but it will produce less and less each day.
This recipe works well in containers of roughly 2 liters (soda bottles, juice containers):
Ingredients:
2 cups sugar
1 tsp baking soda
1/2 tsp yeast (regular dry baker’s yeast is fine, see picture)

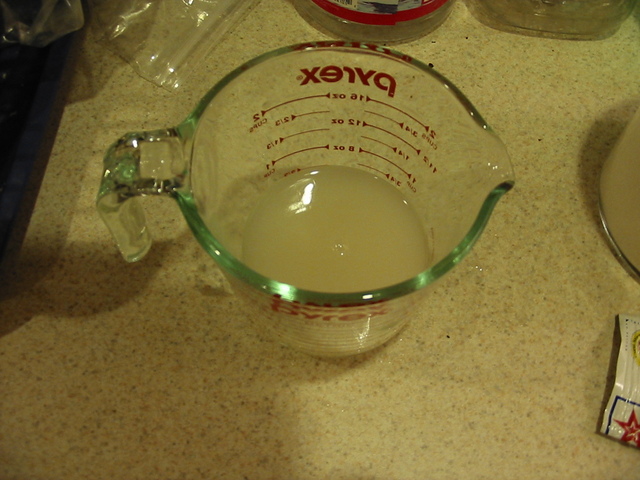
- Start with a small cup or bowl and add a small amount of lukewarm water and a pinch or two of sugar. Mix in the yeast with a fork, stirring vigorously until the water is bubbly. This will help to “activate” dry yeast by adding oxygen, preventing mass die-offs that occur if you just dump the yeast into the water. Let this sit while you prepare the container, or for at least 10 minutes, and stir every few minutes to keep the water oxygenated.
- Rinse out your container if you have used it before to remove all traces of alcohol. Fill it about 2/3 of the way with lukewarm water. Tap water is fine.
- Using a funnel, add the 2 cups sugar and the baking soda to the water in the container. If you’ve used the container before, it’s likely you don’t have a lid you can use to close it up and shake it, so just put the palm of your hand over the opening and turn it upside down over the sink and shake it gently, making sure to keep the seal with your hand. The point is just to dissolve most of the sugar in the water (otherwise it will just sit on the bottom). If you haven’t used the container yet, wait to drill a hole in the lid till after you’ve shaken it up, just to save yourself a sticky hand.
- If it’s been about 10 minutes or longer, pour the yeast and water mixture into the container using a funnel. No need to mix it up, just put the lid on and it should start producing CO2 in anywhere from a few hours (I’ve had it start in around 1 hour!) to 12 hours depending on how well you activated the yeast.
If you don’t have any bubbles after 12 hours, you’ve probably either got bad yeast or leaks. A leak is much more likely in a DIY setup like this and trust me, it will make you reconsider plunking down $300 for a pressurized CO2 system.