Contents
How to Attach Java Fern to Rock
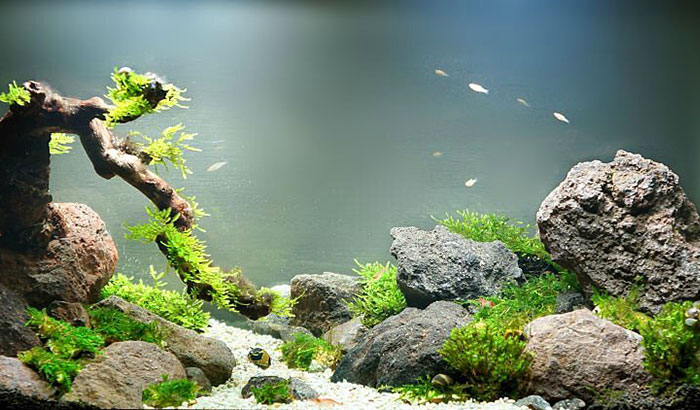
Adding a Java Fern into the aquarium is the easiest way to make your fish tank lively and full of life. The Java Fern is a practical choice because this freshwater plant can be attached to a rock and be an excellent addition to your aquarium.
But how to attach Java Fern to rock? This article will present a very easy method of attaching Java Fern to rock. It only uses simple materials and can be done quickly for your convenience. Please see our step-by-step guide below:
What to Prepare:
- Java Fern (3 to 4 inches in height)
- Aquarium Rock in Different Sizes(Preferably with Structure)
- Cyanoacrylate Glue
Step 1: Preparation of the Aquarium Rock
You will need to prepare the aquarium rock before attaching the Java Fern to it. First, cleaning the rock is very important. You can wash it by rinsing it under hot water. This step will not only remove the dirt but also remove germs and parasites.
Once the cleaning has been done, let the rock dry. You can use paper or cloth to help the rock dry quickly. Just make sure that everything is clean with no dirt by checking it one last time.
Step 2: Attaching the Java Fern
Once the rock is ready, you can start preparing the Java Fern for the attaching process. Always remember that this plant should be around 3 to 4 inches in height. If it comes in a pot, you can remove the pot and the rock wool while cleaning the roots with water,
Once the plants are prepared, you can put some glue on the rock’s surface. Put the glue in the place where you want to position the plants. For large rocks, you can segregate each plant so that it is properly distanced from one another.
During the attachment process, the moment you put the glue on the rock’s surface, put the rhizome of the java Fern immediately. Hold the plant steady for a few seconds until it becomes stable. This super glue dries quickly, which means the attachment process can be quick for each plant.
Step 3: Keep on Watering the Plants
The moment you start that attachment process, do not forget to water the plants that are already attached to the rock. You can use your bare hands to sprinkle some water into the plants to make them stay wet. Then, proceed accordingly until everything is finished.
If you are attaching a smaller aquarium rock, you can put one or two plants only, depending on your preference. It is also better not to cover everything on the rock surface. Just segregate the plants to make them more balanced.
Another trick that you can do is do the attachment process underwater. Since the superglue that we are using can work underwater, then there is no problem with doing the attaching process under the water as well. Once everything is attached, prepare the flowers for transfer to the aquarium.
How to Attach Java Moss to Rock
The Java Moss is also an excellent addition to your fish tank because it has the ability to be attached to a rock. When attaching Java Moss on a rock, it generally has the same process as attaching the Java Fern. Please see our guide below:
- Java Moss
- Coral Rock
- Super Glue
Step 1: Cleaning and Preparation of the Rock
The initial step is to prepare the rock before the attaching process basically. You can try to rinse the rock with hot water in your faucet to remove all the dirt. This step is also good for killing any parasites or bacteria living in the rock.
Once the cleaning is finished, you can let the rock dry. Using a piece of cloth or tissue paper can help the rock dry fast. Make sure to check everything is clean before proceeding to the next step.
Step 2: Attaching the Java Moss to the Rock
During the attachment process, you will just put the glue on the rock and not on the Java Moss. The idea is to distribute the moss into the rock evenly. Once it starts growing, the rock will eventually be covered by the Java Moss.
Please take note that the glue will only take 1 to 2 minutes to dry, which means you will need to attach the plant immediately after putting the glue on the rock’s surface. There is no rule on how much glue you can use but make sure that the Java Moss is properly attached to the rock.
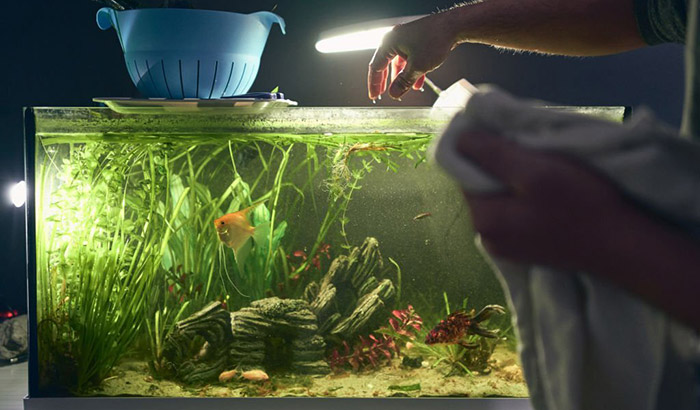
Step 3: Putting the Rock into the Aquarium
Once everything is attached, you can now proceed with putting the rock into the aquarium. The ideal place for the rock is in the corner of your aquarium. If you see some moss is removed, do not bother it because it is just normal.
Just proceed with placing the rock in the corner of the aquarium before leaving it. Expect the moss to grow and cover the rock as days go by eventually.
Conclusion
Learning how to attach Java Fern to rock is a good skill to have because this plant adds a new dimension to your fish tank. Its ability to be attached to a rock makes it ideal for any fish tank. Meanwhile, a Java Moss can also be used similarly for your fish tank to make it more lively for the fish.